Home›CoursesReady-made courses for every grade level
New release
Progressive skill-based training tracks instead of traditional annual curricula
Education is no longer measured by the number of lessons or grades, but by the student's ability to apply, innovate and build solutions. So Viedma offers a new model in which knowledge builds cumulatively across age stages.
ThinkingHands-on practiceProjectsTechnology
14separate levels←3main stages
Stage One
Elementary
Foundation Stage
Grades3rd + 4th + 5th
ContentOne unified book covering 3 years
GoalBuilding the student's mental and technical foundation
What does the student learn?
Basic logical thinking
Visual programming basics (Scratch / Blockly)
Simplified STEM concepts
Building simple projects (robots – models)
Teamwork skills
Training style
Learning through playHands-on experimentsShort, fun projects
“We turn children's curiosity into real skills from an early age”
Training instead of rote learningThe student “trains”, not just “receives”
Flexible tracksStudents progress at their own level
Continuous assessmentOf performance, projects and thinking
Technology integrationInteractive platforms, simulations and real coding tools
Value for everyone
For schoolsA clear, easy-to-apply program, less administrative burden, tangible results for students.
For parentsA clear view of their child's path, real progress seen through projects, real future skills.
For studentsFun learning, hands-on practice, building real achievements.
“We don't offer a curriculum... we design a training journey that builds the student's mind step by step.”
The STEP Training Program for the Viedma Curriculum
A program to prepare and qualify teachers and students for project-based STEAM teaching
STEAM Teaching And Students Excellence Program. Every session is a design and innovation station where trainees solve a real challenge and leave with a tangible product. Innovate • Design • Inspire
28training days, 4 days a week
168hours: 96 theory + 72 practical
6hours a day across 3 levels
OnlineLive interactive training
Arabic + EnglishTraining language
Target audience
STEAM teachers in schools (science, math, computing)
Robotics and coding teachers and educational engineers
Program outcomes
Designing professional, integrated STEAM units
Running STEAM-based lessons effectively
Using academic scientific language in a STEAM environment
Applying engineering design and scientific inquiry
Using interactive digital tools in design and assessment
Building a professional digital portfolio
The golden structure: 7 major phases
01
Building mindset and identityIdentity & Mindset
Days 1–3
02
Teaching with digital technologiesAI-Powered Education
Days 4–7
03
Interactive digital learningInteractive Digital Teaching
Days 8–11
04
Engineering designEngineering Design
Days 12–15
05
Academic language for STEAMAcademic English for STEAM
Days 16–18
06
Leading educational innovationInnovation Leadership
Days 19–22
07
Final challenge projectCapstone Challenge
Days 23–28
The training day: three parallel levels
Level OneKindergarten to grade 4 · 2 hours a day
10 min
Warm-Up & EngagementA visual, physical warm-up to boost energy and get ready to learn
40 min
Interactive LessonA simple STEAM lesson with visual and story-based tools suited to the age group
40 min
Hands-On Challenge + ShowcaseA hands-on challenge tied to the session, then presenting results and assessment
30 min
English ReviewReviewing the lesson's terms in English
Level TwoGrades 5 to 8 · 2 hours a day
10 min
Inquiry Warm-UpA central inquiry question linking critical thinking to an Arduino project
40 min
Arduino FundamentalsGetting to know the board and components: LEDs, resistors, buttons, and the first code
40 min
Arduino Design ChallengeDesigning an interactive circuit in a team on Tinkercad to solve a real problem, then presenting and reflecting
30 min
English ReviewReviewing the lesson's terms in English
Level ThreeGrades 9 to 12 · 2 hours a day
10 min
Coding & Robotics BriefA real robotics or coding challenge linked to the job market
40 min
Programming & Robotics LabAdvanced coding: Scratch, Python / MicroPython and Arduino, and designing robot motion
40 min
Prototype, Pitch & EvaluateBuilding, testing and improving a prototype, then presenting and evaluating it against STEAM criteria
30 min
English ReviewReviewing the lesson's terms in English
Detailed weekly plan
Week OneFoundations of STEAM Education
Goal: build the conceptual foundation and shift teachers' mindset from rote teaching to inquiry and innovation
Day
Skill
Hands-on practice
1
Introduction to STEAM and its philosophy
An introductory integrated activity
2
Inquiry-Based Learning
Designing an inquiry experiment
3
Engineering Design Process
A group engineering challenge
4
Creativity & Innovation
Presenting a first project
Week TwoProject-Based Learning & Innovation
Goal: master project-based learning and apply it in real learning experiences
Day
Skill
Hands-on practice
5
PBL Fundamentals & Gold Standard
Designing a complete STEAM project
6
Critical Thinking Strategies
Analyzing real-world problems
7
Problem Solving Models
An applied group challenge
8
Collaboration & Teamwork
A multidisciplinary team project
Week ThreeDigital STEAM & Emerging Technologies
Goal: use modern digital technologies in the school STEAM environment
Day
Skill
Hands-on practice
9
Coding Fundamentals (Scratch / MakeCode)
Coding an interactive learning activity
10
Digital Tools in Education
Comparing digital tools
11
Robotics Integration
Designing a virtual robot in Tinkercad
12
Data Literacy & Visualization
Analyzing data and reading results
Week FourSTEAM Classroom Mastery
Goal: master managing the learning environment and assessment in a STEAM context
Day
Skill
Hands-on practice
13
Classroom Management Strategies
Micro Teaching classroom simulation
14
Assessment in STEAM
Designing professional rubrics
15
Reflective Teaching Practice
Peer assessment of projects
16
Exhibition Preparation & Design
A mini digital STEAM exhibition
ClosingGraduation & Innovation Expo
Goal: final presentations and completing the portfolio
3. Practical applications: Every day ends with a real product ready to use in the classroom.
Assessment system
Attendance and active participation20%
Daily hands-on activities25%
The comprehensive final project35%
The digital portfolio20%
The final project is assessed on creativity, interactivity, collaboration, presentation and documentation (20 points each).
Certificates and training package
STEAM Teaching Excellence Certificate — STEP
Academic English for STEAM Educators
Digital Innovation Badge Collection
Each trainee receives: a trainer's guide, a trainee's guide, daily presentations, worksheets, assessment files and rubrics, templates and a bank of STEAM project ideas.
“We don't offer a training course... we build an academy that prepares the teacher of the future”
Choose a ready-made course from the Viedma STEAM curriculum, or design a custom course for your organization.
For schools · Free
STEAM Talent Discovery Course
A hands-on course at the school with models and robots, plus a quick competition that reveals creative students. We nominate the top students for Viedma's special programs that prepare them for competitions and hackathons.
Choose the grade level, fields, duration and location, and we'll prepare a program and a quote within one business day.
Complete course · 12 activities
Card Programming Robot Course
Card Programming Robot · KJ026
In small teams, students build 12 smart machines from everyday life and program them with cards, with no screen or typed code needed. Each activity starts with a story and a real problem and ends with a working model the team presents.
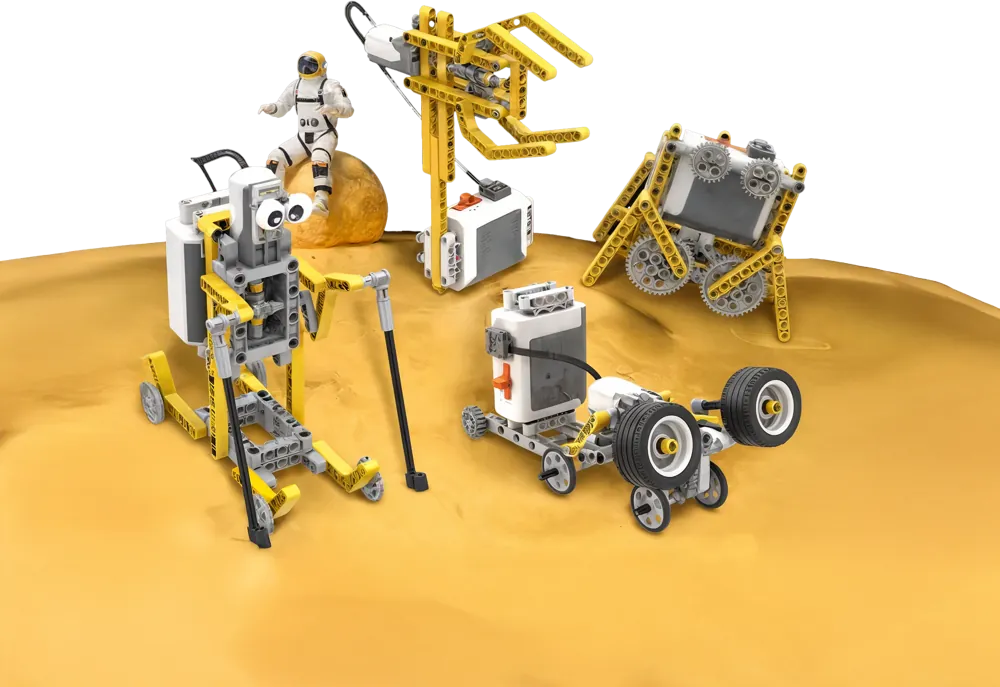
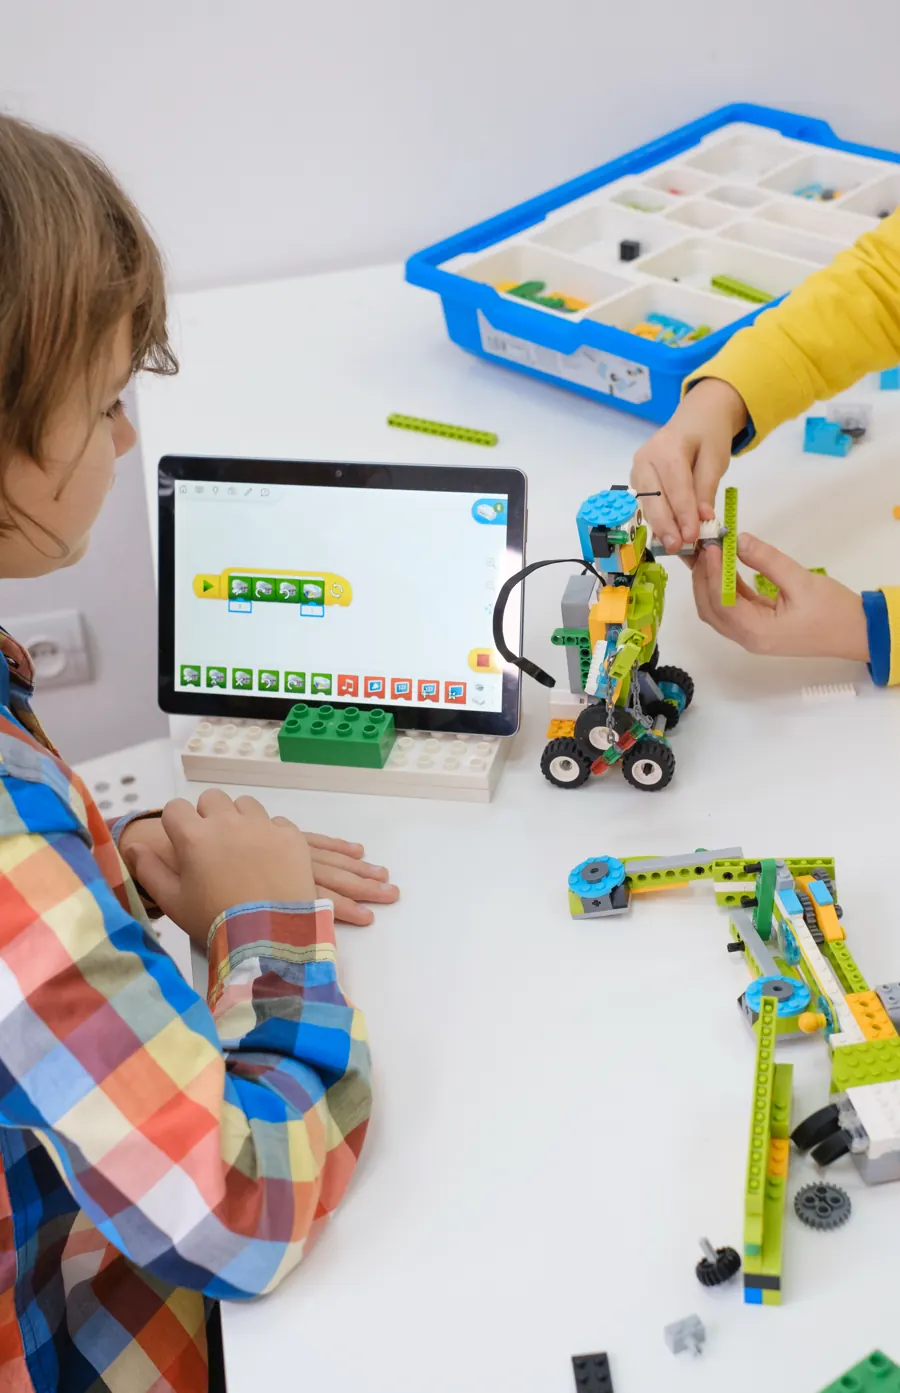
Children build 24 moving models step by step: a dinosaur, a crocodile, an automatic door, a race car and a helicopter, then code them with blocks on a tablet or computer to move and respond to sensors. Fun learning about motion, speed, time, and cause and effect.
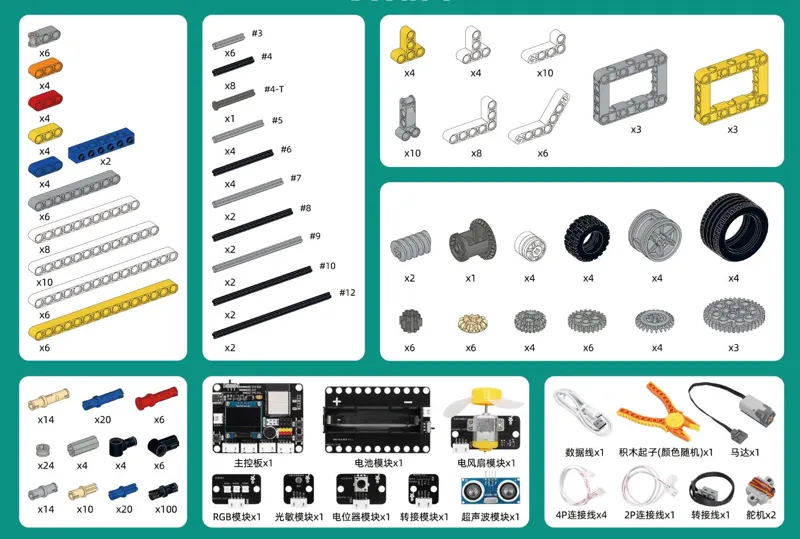
All building pieces in the kit: bricks, beams, gears, wheels and axles
How does each activity work?
Build
The child assembles the model with clear illustrated steps.
Coding
They drag coding blocks: motor on, speed, wait, sensor.
Experiment
They run the model and change speed and time to see the effect of each change.
Present
They explain to classmates how their model works and what they learned.
The 24 models
01Assembly steps →
Robotic Dinosaur
Mechanical T-Rex
MotorDistance sensor
It opens and closes its mouth for two seconds whenever an obstacle approaches.
02Assembly steps →
The Duck
Duck
MotorDistance sensor
The duck moves forward when an object approaches and backs away when it moves off.
03Assembly steps →
Steering Cart
Bogie
MotorTwo buttons
One button makes the cart go straight, and another makes it turn.
04Assembly steps →
Forklift
Forklift
MotorTilt sensor
Tilt the joystick forward and the fork lowers; tilt it back and it rises.
05Assembly steps →
Milo the Explorer
Milo
MotorSpeed and time
An explorer robot that moves forward at a set speed for 9 seconds.
06Assembly steps →
Robotic Arm
Robotic Arm
MotorSound
It makes a sound, then closes on an object and grabs it.
07Assembly steps →
Climbing Monkey
Monkey
MotorRepetition
It climbs the rope up and down nonstop.
08Assembly steps →
Feeding the Bird
Bird Feeding
MotorDistance sensor
When the mother returns to the nest, the chick raises its head and opens its mouth for food.
09Assembly steps →
The Biplane
Biplane
MotorDistance sensor
The propeller spins fast when an object approaches the sensor.
10Assembly steps →
The Crocodile
Crocodile
MotorDistance sensor
When it sees food it snaps its mouth shut, then opens it after two seconds.
11Assembly steps →
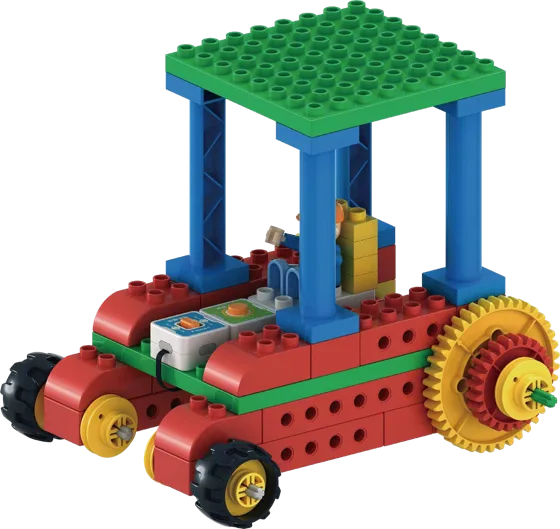
The Harvester
Combine Harvester
MotorSound
It plays music, then drives forward in the field for 9 seconds.
12Assembly steps →
Automatic Door
Automatic Door
MotorDistance sensor
The door slides open when a person approaches, then closes again.
13Assembly steps →
Wave-Drawing Sheep
Sheep Drawing Waves
MotorSpeed and time
The sheep moves forward and draws a wavy line.
14Assembly steps →
Dump Truck
Tipper Truck
MotorTwo buttons
Loading and unloading cargo by running the motor forward and backward.
15Assembly steps →
The Sphinx
Sphinx
MotorSpeed and time
It moves forward at a set speed for 9 seconds, and students change the speed and time themselves.
16Assembly steps →
The Bee and the Honey
Bees Gather Honey
MotorDistance sensor
The bee flies looking for the flower and stops there to collect nectar.
17Assembly steps →
The Little Giant
Little Giant
MotorSpeed and time
A robot that walks forward at a set speed for 9 seconds.
18Assembly steps →
F1 Race Car
F1 Racing Car
MotorDistance sensor
It detects an object ahead, races for 5 seconds, then stops.
19Assembly steps →
The Wobbly Car
Rocking Car
MotorSpeed and time
The car wobbles and moves forward for 9 seconds.
20Assembly steps →
Pattern Drawer
Spirograph
MotorCircular motion
The ruler spins around the wheel to draw beautiful circular patterns.
21Assembly steps →
Mudskipper Fish
Mudfish
MotorSpeed and time
The fish crawls forward on the mud for 9 seconds.
22Assembly steps →
Ship Lock Gate
Navigation Lock
MotorTwo buttons
Opening and closing the canal gate so ships can pass.
23Assembly steps →
Bata the Crawler
Pata
MotorCircular motion
It crawls around the turntable for 9 seconds.
24Assembly steps →
Apache Helicopter
Apache Helicopter
MotorSpeed and time
The helicopter's rotor spins at a set speed for 9 seconds.
We deliver the course at schools and centers or at our premises, and we provide the kits for training. Contact us on WhatsApp
Robotics & AI Courses
Ready-made courses with curricula and kits
Each course comes with a teacher's guide, lesson presentations, a student kit and technical support.
Coding for Kids: AI Seed Coding
LBS2236 · AI Seed Coding
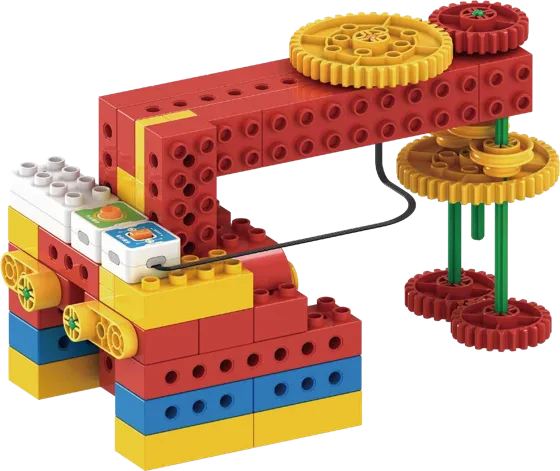
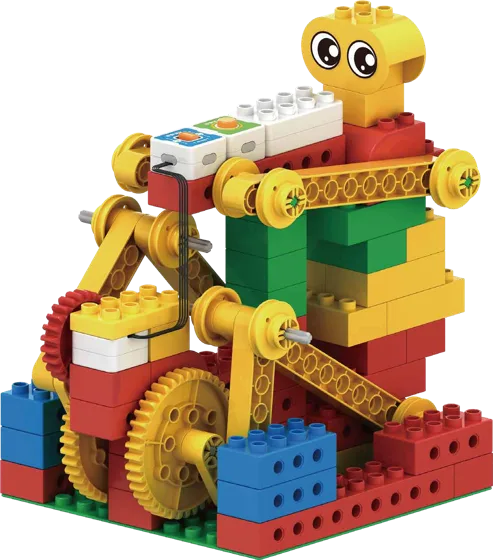
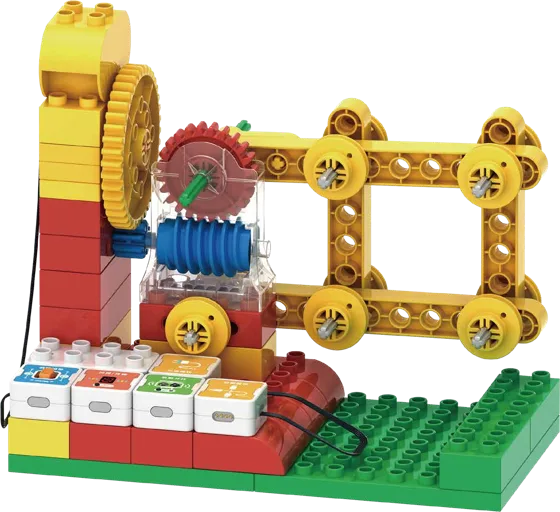
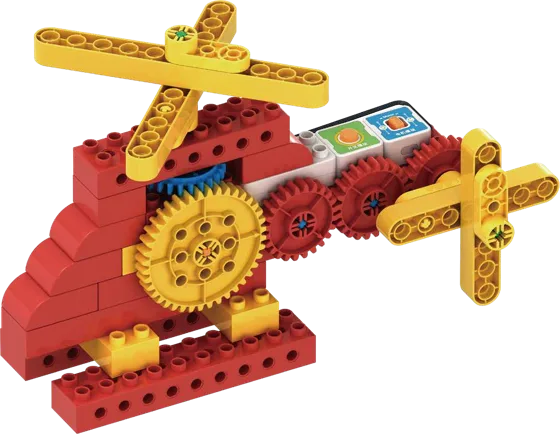
12 activities in which children build everyday machines with big blocks and gears, then run them with coding modules: motor, switch, voice recording, voice control, infrared and delay.
Understand how a whisk works, horizontal gear meshing, and running it with the switch and motor modules.
02
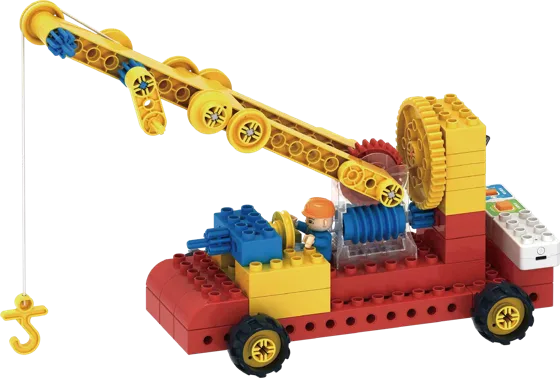
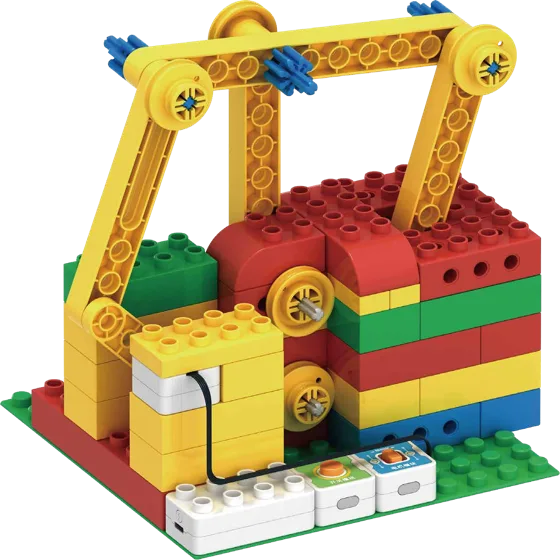
The Crane
Crane
The crane's structure and the lever principle, raising the arm with a worm-gear set.
03
The Helicopter
Helicopter
Building a helicopter with a compound gear set and spinning the rotor with the motor.
04
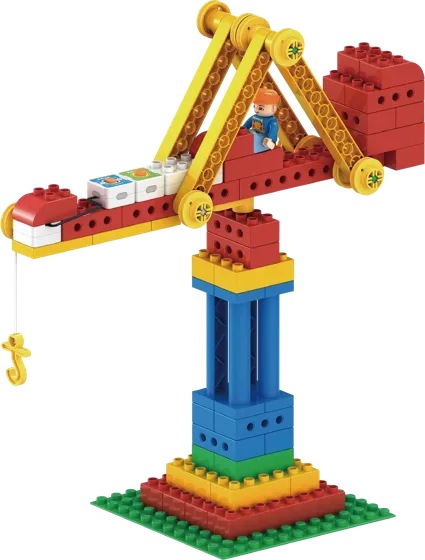
Tower Crane
Tower Crane
The stability of triangles and building a fixed pulley.
05
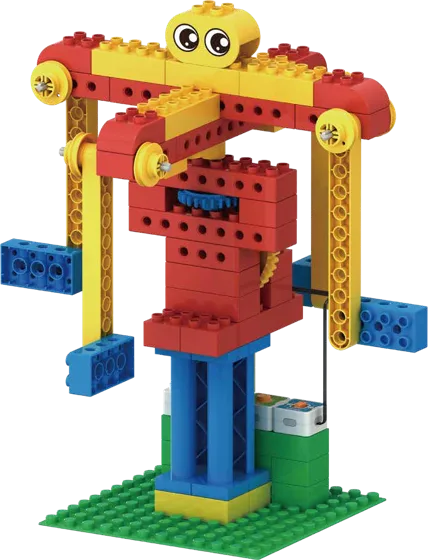
Rotating Flying Chairs
Rotating Flying Chair
Vertical gear meshing to spin the ride.
06
The Car
Car
The car's structure and how it turns, moving forward and back with the motor module.
07
Oil Pump
Oil Pumping Machine
The connecting rod and crank, with continuous running via the switch module.
08
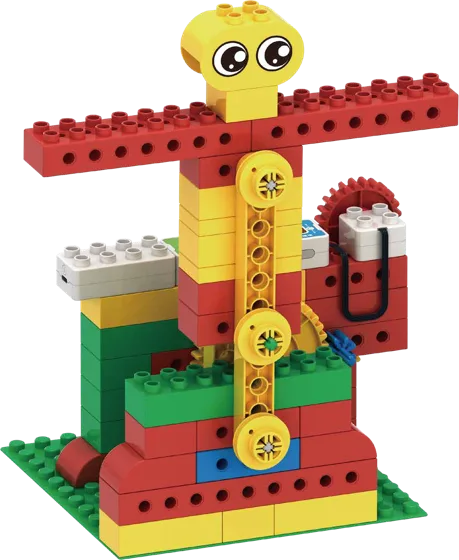
The Scarecrow
Scarecrow
The linkage principle, and the recording module so the scarecrow makes a sound as it moves.
09
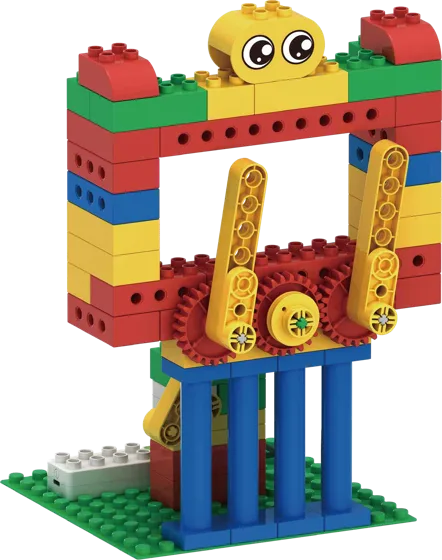
Windshield Wiper
Wiper
Linkages, and the voice-control module so the wiper works when it hears a sound.
10
The Bike
Bike
The bike's structure and how it works, driven by the motor.
11
Parking Barrier Gate
Barrier Gate
The worm gear, plus the infrared and delay modules to open the gate.
12
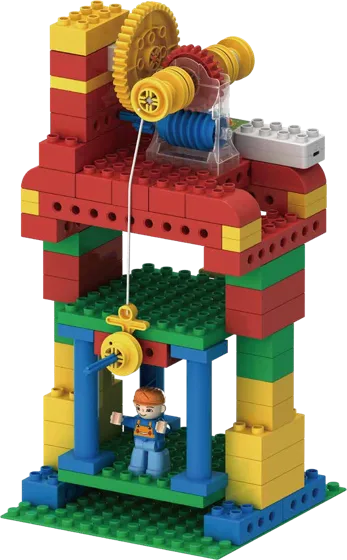
The Elevator
Elevator
A worm-gear set to raise and lower the elevator with coding.
AI Smart Explorer
AI Smart Explorer · 30 Courses
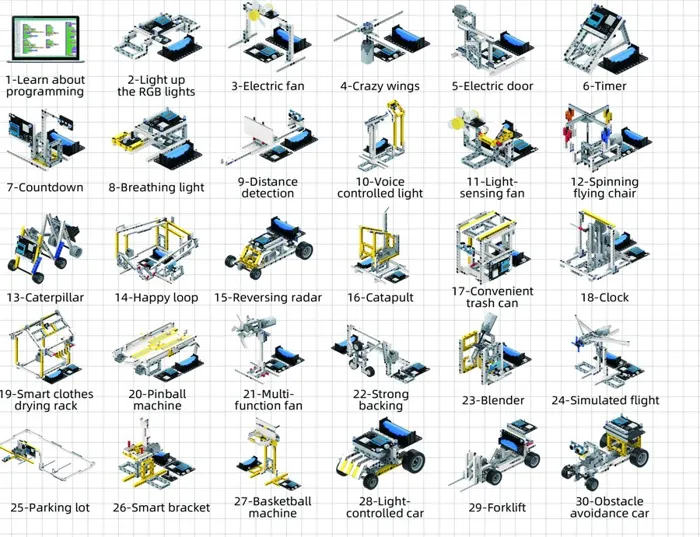
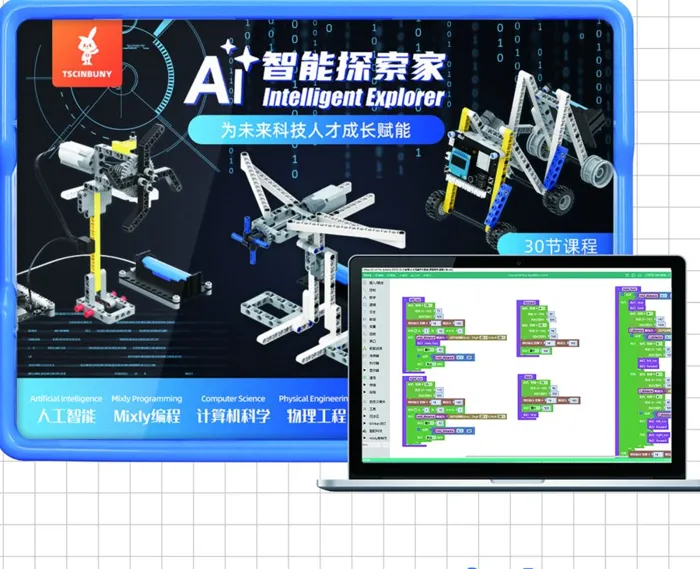
A kit with an ESP32 board, electronic components and building bricks. Students build 30 projects and code them with graphical blocks, from easy to hard, step by step.
A course that starts from zero in electronics and graphical coding. Each lesson is a project students build with bricks and then code, from simple to advanced.
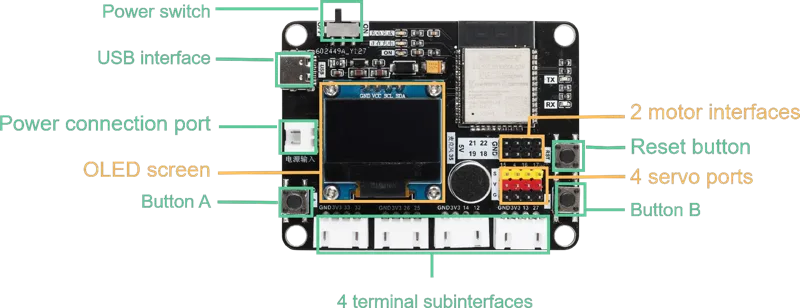
A dual-core ESP32 board with WiFi, an OLED screen, a microphone and a buzzer, 4 sensor ports, 4 servo ports, 2 motor ports and a rechargeable 3.7V battery.
RGB LEDRGB light
PotentiometerPotentiometer
Motor fanMotor fan
Light sensorPhotosensitive
Ultrasonic sensorUltrasonic
Servo motorServo
MotorMotor
Battery moduleBattery
Introductory lesson
Getting to know the kitKit components, what each controller port does, and how to connect sensors, servos and motors.
Assembling and taking apart bricksUsing the pieces, friction pins and the removal tool.
Installing MixlyDownloading the version, choosing the ESP32 Dev Module board, and installing the CH340 driver.
Getting to know the Mixly interfaceThe blocks area, the editing area and the serial port window.
Uploading the first programConnecting the board, choosing the port, uploading the program and solving common problems.
AI Vision: A Color-Blindness Helper Robot
AI Vision · Colorblind Assistant Robot
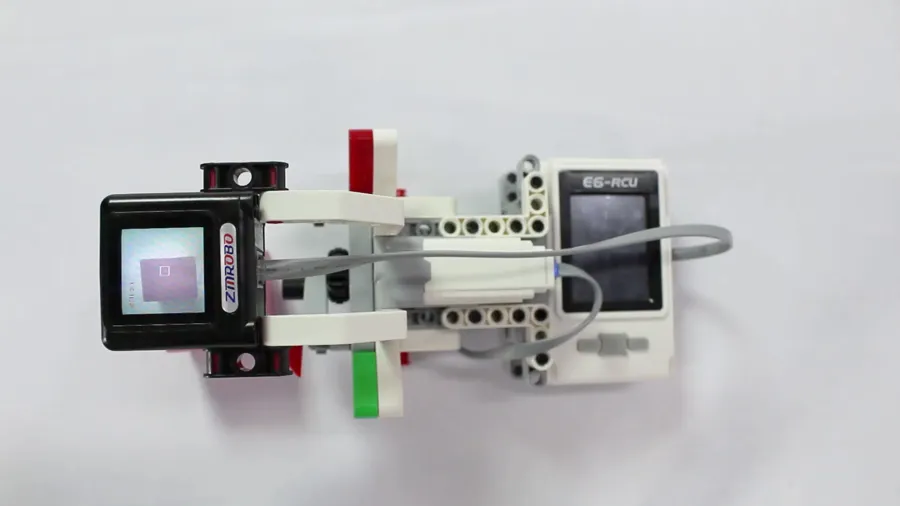
A lesson from the AI series: students learn about color blindness and its types, then build a robot with a smart vision module that learns colors, with a pointer that indicates the right color to help people who can't tell colors apart.
Machine learning of colorsAI vision moduleBlock coding
1. IntroductionWhat is color blindness? How do the eye's cone cells work?
2. New knowledgeRed blindness, green blindness, corrective glasses, and the "learn colors" block.
3. ApplicationBuilding the robot, connecting the vision module to port P8 and the motor to port M1, then coding it to recognize two colors.
4. ExtensionIncreasing the number of colors the robot recognizes, and learning the RGB model.
Kit & tutorial · Grade 6
The mBot2 Robot: From Assembly to Coding
The robot used in the Viedma curriculum for grades 6 to 10, with a full walkthrough of the first project: “Line Explorer”.
The mBot2 Programmable Educational Robot
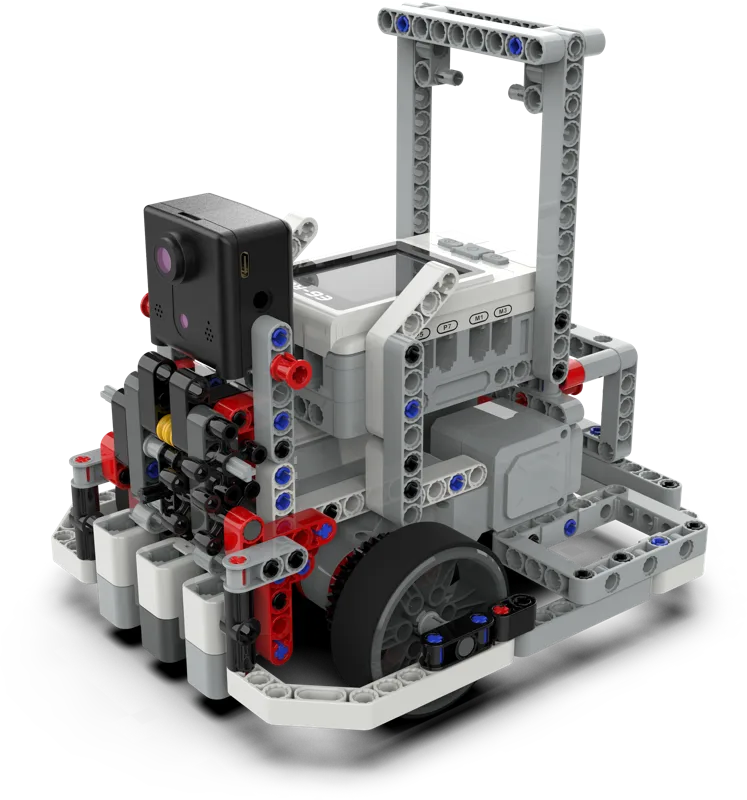
An educational robot with an ESP32 processor and a color screen. Students learn block coding (Scratch) and then move on to Python. It follows lines, recognizes colors, avoids obstacles and connects to the internet.
CyberPi controllerAn ESP32 processor for wireless connection, programmed with blocks or Python.
mBot2 Shield boardExternal components connect to it, and it has a built-in lithium battery.
Ultrasonic Sensor 2Detects obstacles and measures distance, with 8 programmable LEDs.
Quad RGB color sensorFour sensors that recognize colors and follow lines, from simple to advanced programs.
Encoder motorsOne-degree precision in measuring rotation and distance, at up to 200 RPM.
2Assembly steps
Steps 1–4: Connect each motor's cable, fix both motors to the chassis, then fit the tires on the wheels and attach them to the motors.Steps 5–10: Fix the color sensor under the chassis and the ultrasonic sensor at the front, connect their cables, mount the Shield board and connect the wires to ports 1, 2 and 3.Step 11: Mount the CyberPi on top, and check that the left motor is connected to EM1 and the right to EM2. The robot is ready.
3Coding with mBlock 5
Download the software: The desktop version, the web version, or the phone and tablet app. Download link
Add the device: From the devices list choose CyberPi, then add the mBot2 extension.
Connect to the robot: Turn on the robot and connect it with a USB cable or Bluetooth, then click “Connect”.
Upload the program: Choose “Upload” mode so the program runs on the robot without a computer.
4First project: Line Explorer
The robot follows a black line on the map using the quad color sensor. If the line drifts right or left, it adjusts each motor's speed to get back on it. When it passes over a color like red, yellow, green or blue, it runs a command for that color.
When button A is pressed
Forever:
if the two middle sensors are on black → move forward
else if the line is on the left → turn left
else if the line is on the right → turn right
if it detects red → stop for two seconds
if it detects green → play a sound and continue
What does the student learn?How sensors work, conditions and loops, and controlling motor speed.
Challenge 1Make the robot change its light color based on the color it passes over.
Challenge 2Add the distance sensor so the robot stops if it finds an obstacle on the line.
Special tracks for gifted students
Enrichment programs for students who go beyond their level
For students who show high skills in building, analytical thinking or coding.
1Motivating high performers to deepen their knowledge and expand their skills.
2Preparing them for local and international STEM competitions.
3Open-design challenges, solving environmental problems, and tech and social innovations.
4Direct supervision by trainers specialized in science, coding and applied engineering.
The skills your child gains
STEAM prepares for life, not just for exams
TeamworkProblem-solvingCreative thinkingTime managementKeeping up with the tech ageAdapting to challengesConfidence in presenting ideasCritical thinkingCommunicationEntrepreneurship
A complete box that turns the science lesson into a hands-on experience: students build electrical circuits, run the motor and bell, and discover magnets, electromagnets and generating electricity. Aligned with the electricity and magnetism topics in elementary science curricula.
Standard edition52 pieces · 17 experiments
Advanced edition61 pieces · 22 experiments
Features
🔣 Circuit symbols on the partsEach part carries its scientific symbol (+ and − for the battery, L for the bulb, S for the switch), so students easily learn to read circuit diagrams.
📘 Illustrated guide and videosA guide explaining each experiment step by step, with educational videos via QR codes.
🧲 Electricity and magnetism togetherCircuits, magnets, magnetic levitation, and turning motion into electricity with the hand generator.
📦 A box that opens 180°A sturdy storage box that opens fully for sorting and grabbing parts easily. Size 20.4 × 15.3 × 9.5 cm.
✅ Safe and testedPassed safety tests, made of ABS, PP and metal.
🔧 Spare partsWe replace any missing or damaged part.
Sample experiments
Series circuitParallel circuitElectric motorElectric bellBuzzerElectromagnet
And other experiments: the hand generator, the compass, the magnetic car, magnetic levitation, static electricity with a balloon, the metal-plate battery, and conductors and insulators.
Advanced edition contents
Electric motor · hand-crank generator · electric bell · buzzer · hidden circuit box · electromagnet · two bulb holders · two knife switches · two battery holders · multi-base · compass · magnetic needle · magnetic car · U-shaped magnet · large and small bar magnets · two ring magnets · magnetic levitation stand · 6 wires and 2 clip wires · 4 copper and 4 zinc plates · 4 2.5V bulbs · two LEDs · fan · two balloons · paper clips · screwdriver · experiment guide · storage box
The standard edition does not include: the electric bell, the buzzer, the hidden circuit box and the electromagnet.
A hands-on course in which students learn the basics of structural engineering and simple machines by building real models: stable shapes, strong walls, levers, pulleys, wheels, gears and racks, then run their models with a motor and battery. Each activity has science goals, building tasks, an experiment, recording results and an extension question.
12 activitiesA hands-on lesson per activity
684 piecesBeams, gears, pulleys, wheels, motor
What does the student learn?
🧱 Parts and their functionsPins, beams, perforated bricks, axles, pulleys and gears, and when to use each.
🔺 Shapes and stabilityWhy the triangle is the strongest shape, and how cross bracing makes a wall strong.
⚖️ Simple machinesThe lever, the fixed pulley, the wheel and axle, and how they make work easier for people.
⚙️ Motion transmissionSpur, crown and bevel gears, belts and racks, and changing speed and direction.
🧪 Experiments and measurementRecording the relationship between weight and distance, and comparing sliding and rolling friction.
💡 Thinking and innovationOpen challenges and designing models from daily life, then presenting and sharing them with classmates.
The 12 activities
01 Circle, Straight Line and TriangleConnecting beams, building a triangle and a square, and discovering why the triangle keeps buildings and bridges stable.02 The QuadrilateralBuilding pliers and expandable, foldable four-sided structures like accordion gates.03 Strengthen Our HouseBuilding two walls with different structures and discovering the strength of cross bracing, then designing a sturdy house.04 The Eiffel TowerAn engineering challenge: build the tallest stable tower in 30 minutes, and understand gravity and the center of mass.05 We Can Lift the EarthBuilding a vise and a seesaw, and discovering the lever principle and the relationship between weight and distance.06 Wheels and PulleysPulleys of different sizes and changing speed, and building a well-pulley model.07 Raising the FlagThe fixed pulley and changing the direction of force, as in a flagpole, and building a fishing rod.08 The spinning carouselRunning the motor and battery, transmitting motion with a belt and changing rotation speed.09 Wheels and FrictionAn experiment on sliding and rolling friction with recorded results, then building a wheelbarrow.10 GearsThe driving, driven and idler gears, comparing gears and pulleys, and building a fan.11 Crown and Bevel GearsChanging the direction of motion at a right angle, and designing models from daily life.12 The RailwayThe rack and turning rotation into straight-line motion, and building a telescopic pole and a folding clothes rack.
By the end of the course, students build complete machines such as a tower crane, an elevator and a fan, and explain how they work.
Little Explorer: Building the City's Machines and Animals
A fun course for young children in which they build, with big, safe blocks, the construction machines, vehicles and animals around them: an excavator, a bulldozer, a crane, a helicopter, a sailboat, a dog, a bird and a dragonfly. Children learn to use a screwdriver, arms and rotating parts, and get to know each machine's function and safety rules.
12 activitiesA fun lesson per activity
Ages 4 – 7Big, safe blocks and a kids' screwdriver
How does each activity work?
💭 ImagineA question or real-life story opens the topic, e.g. how can we move a mountain to build a house?
🔍 ExplorePictures and discussion about the machine's or animal's shape, parts and function.
🧩 Solve the problemA building task with clear requirements: a stable model, a part that rotates and an arm that moves.
🛠️ Reference modelA picture of the model helps the child, who can add their own touch.
🎤 ShareThe child presents their model and talks about how it was built and any difficulties they faced.
🦺 Safety and valuesSafety signs, cooperation, kindness to animals and a love of exploration.
The 12 activities
01 The Useful ExcavatorThe excavator's shape, parts and uses, and using the screwdriver, the arm and the 360° rotating seat.02 The BulldozerBuilding the bulldozer and its bucket, and learning simple safety signs.03 The DrillerThe driller's parts and uses, building with the robotic arm and problem-solving.04 The CraneBuilding the crane's base and hook, and learning safety rules on construction sites.05 The Big TruckThe truck's structure and functions, and trying more than one way to build.06 Warehouse AssistantThe forklift and how it lifts goods, and developing observation from daily life.07 My DogA dog's traits and habits, building a dog creatively, and developing kindness to animals.08 The Flying BirdTypes of birds and their shared traits, and building a bird with different parts.09 The DragonflyThe dragonfly's shape and life stages, and building long and short arms.10 The HelicopterThe helicopter's parts and the rotor's role in flight, and safety awareness.11 The SailboatThe sailboat's features and uses, and developing a spirit of cooperation.12 The MicroscopeThe microscope's shape and how it works, and developing a love of exploration.



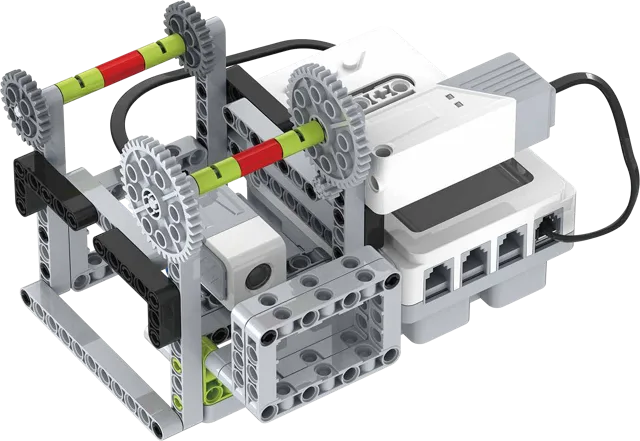
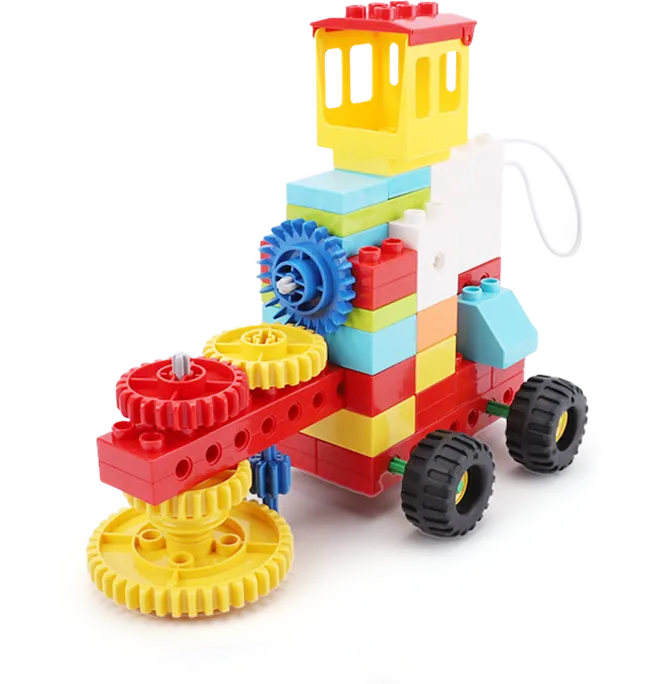


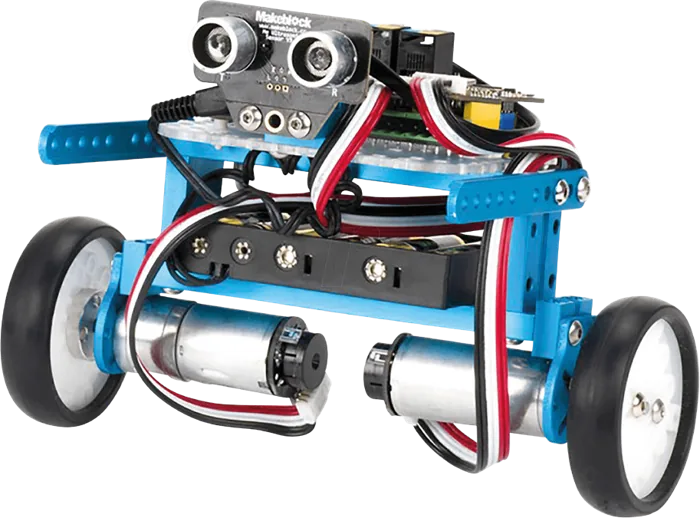
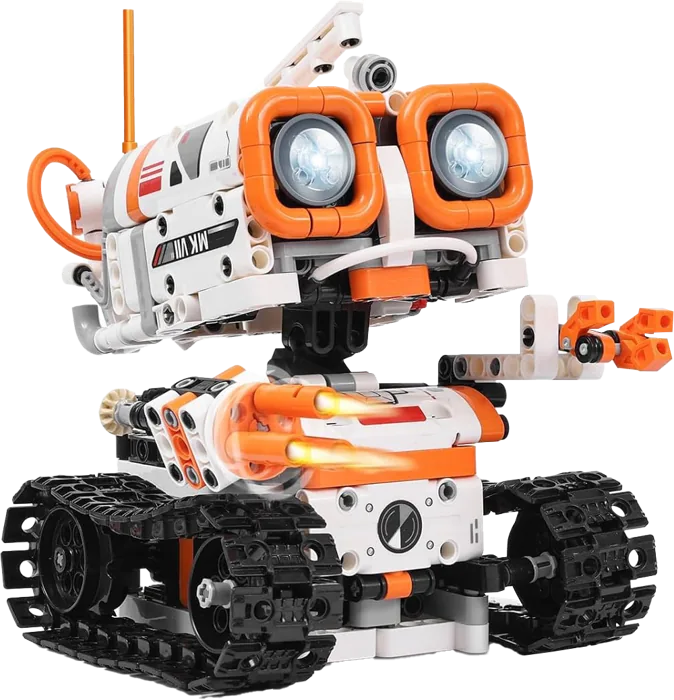
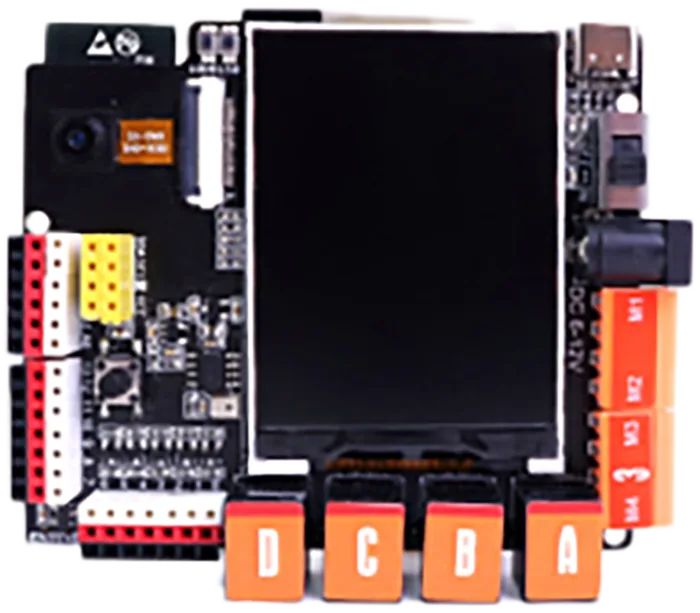
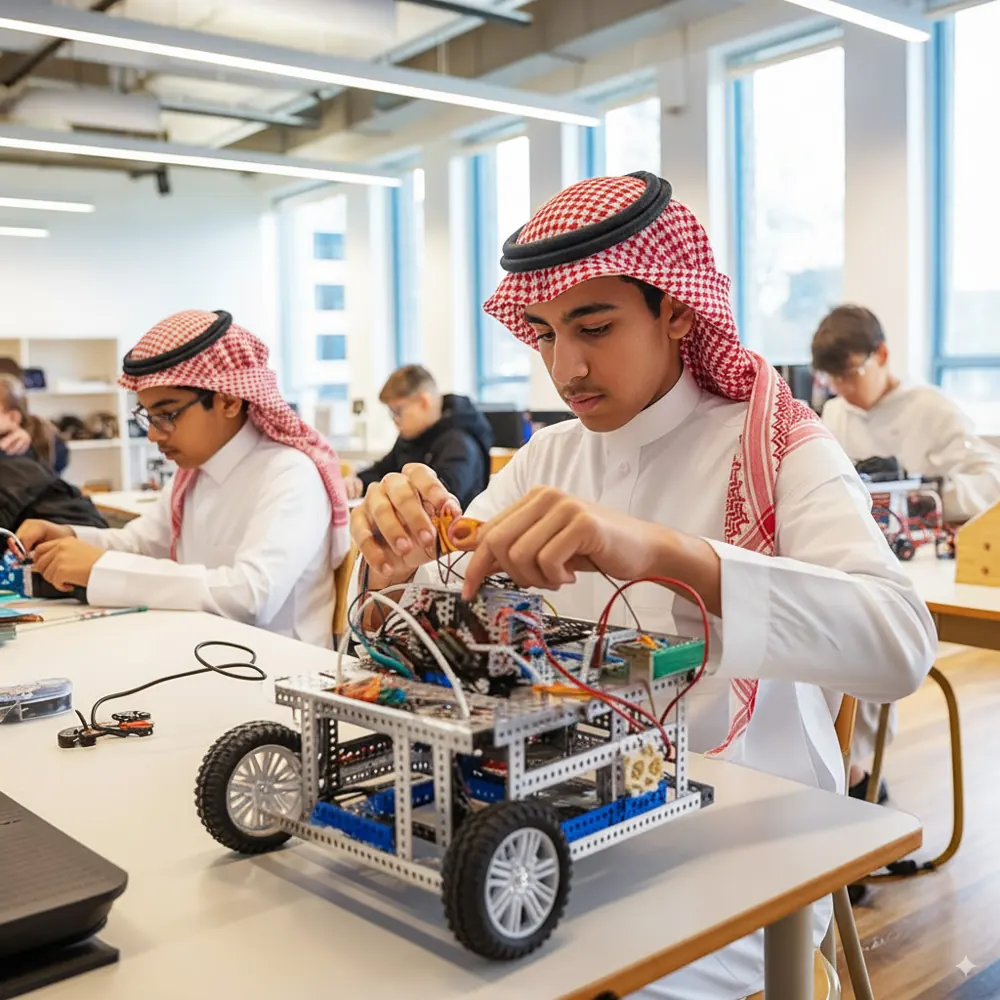
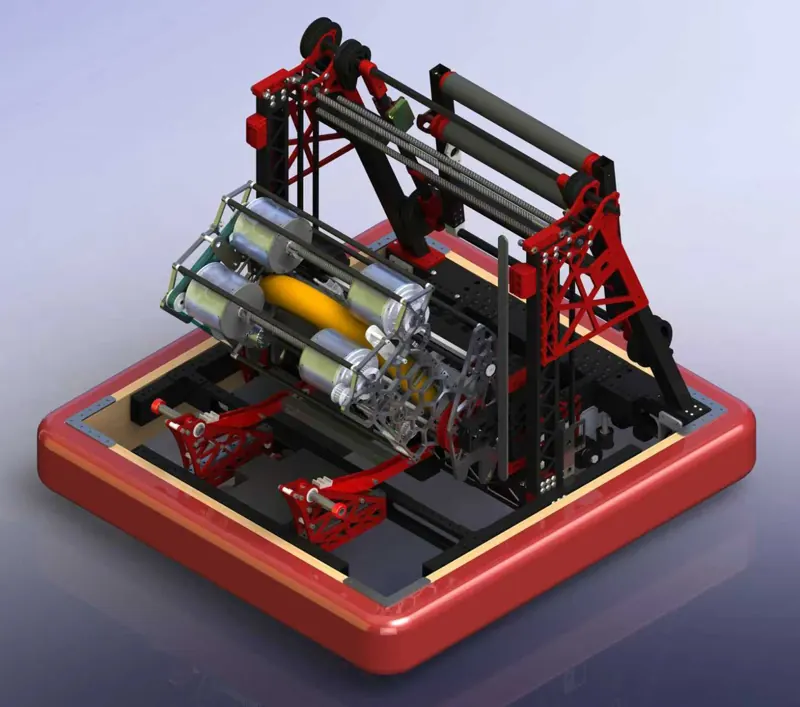
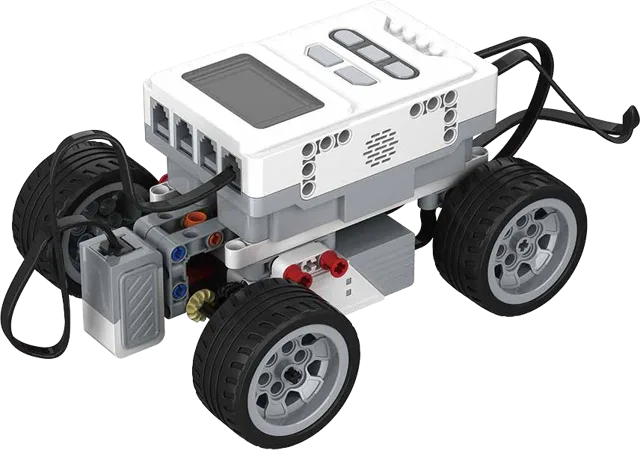


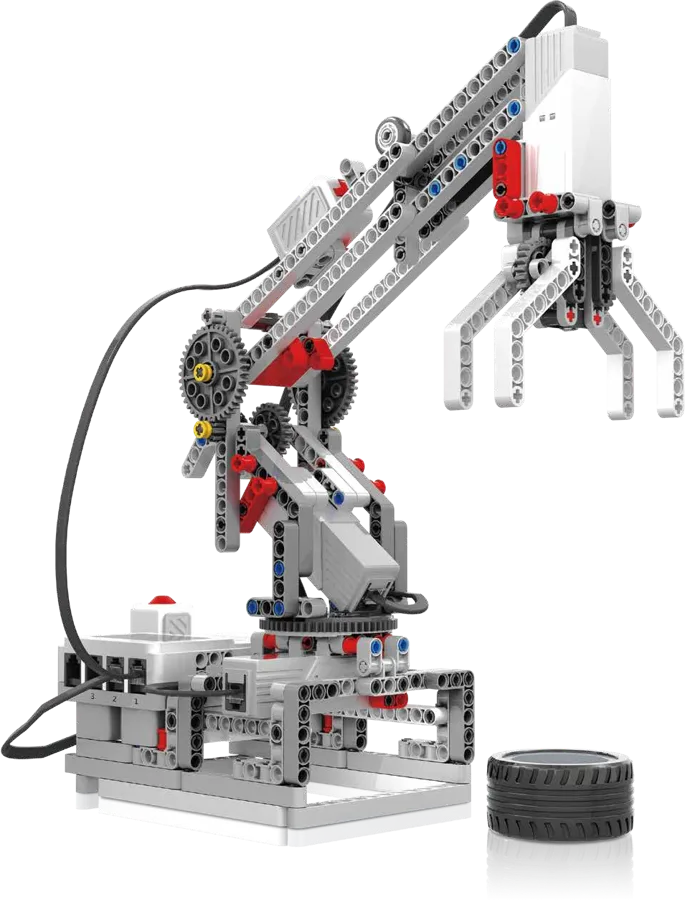
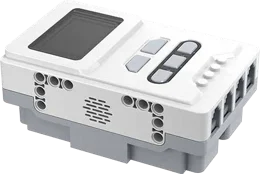 Main controllerMain controller
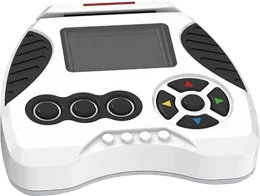 ProgrammerProgrammer
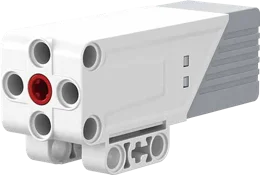 MotorMotor
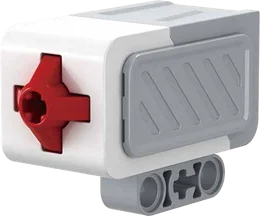 Touch sensorTouch sensor
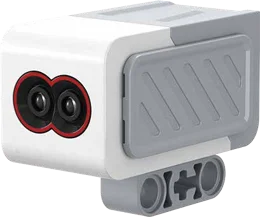 Infrared sensorInfrared sensor
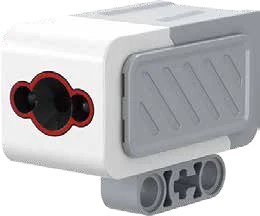 Color sensorColor sensor
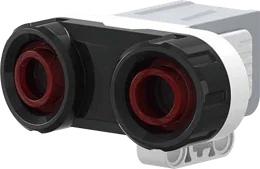 Ultrasonic sensorUltrasonic sensor
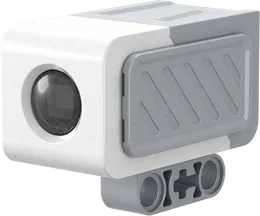 Colored lightColor light
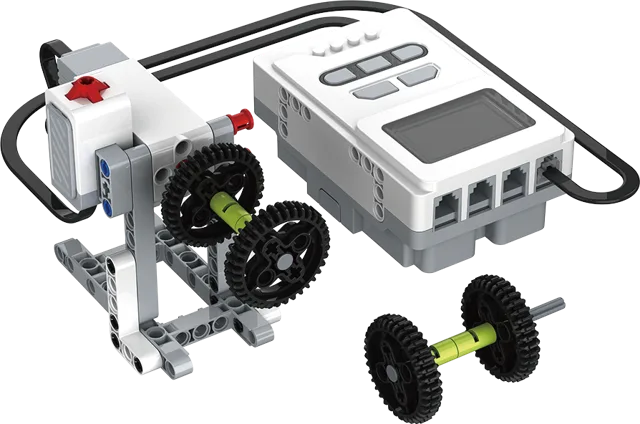
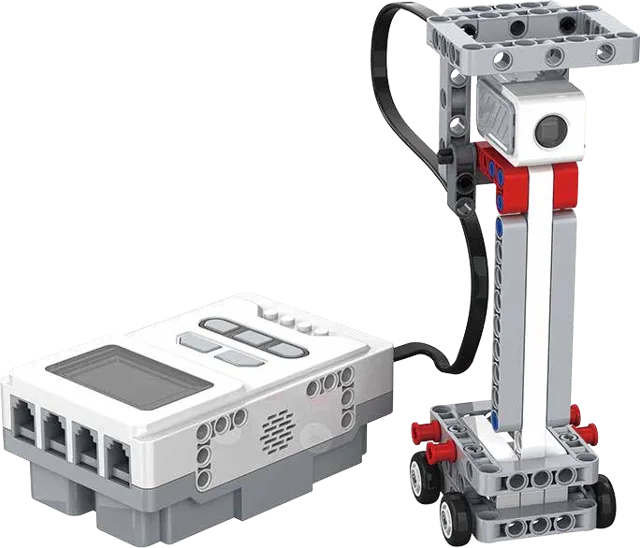
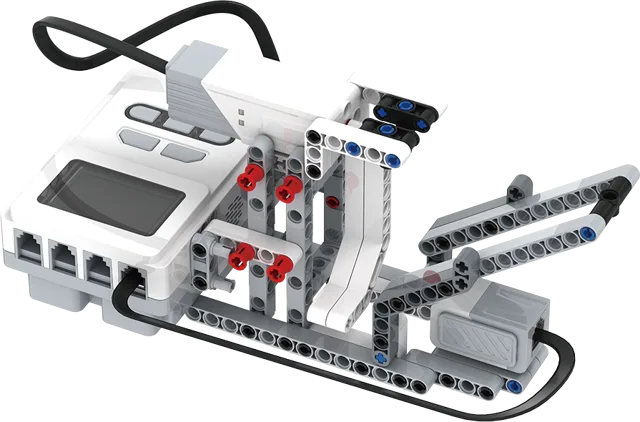
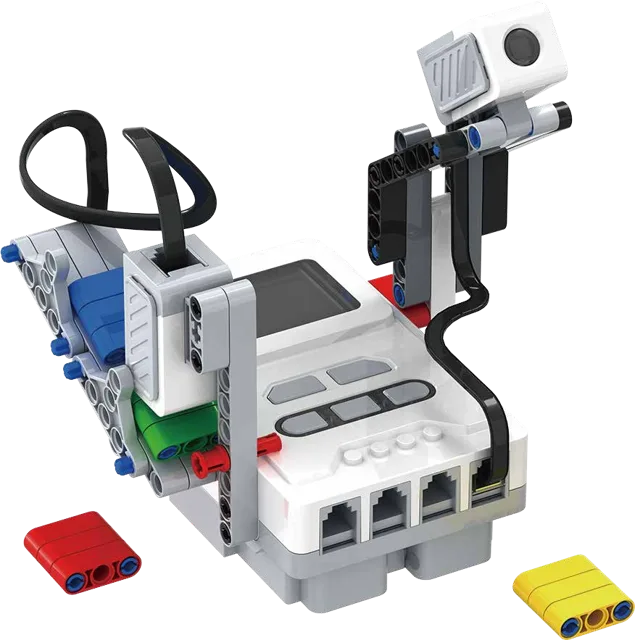
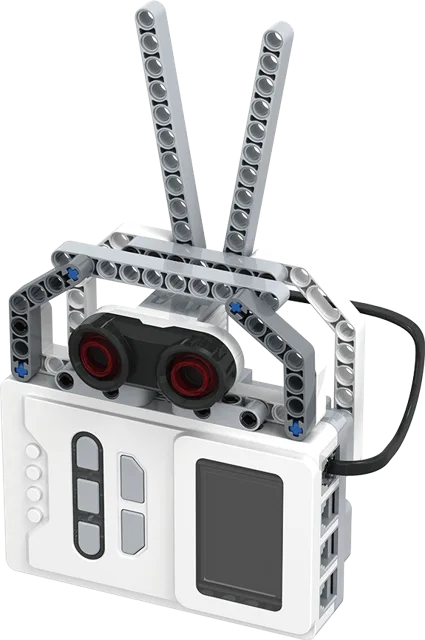
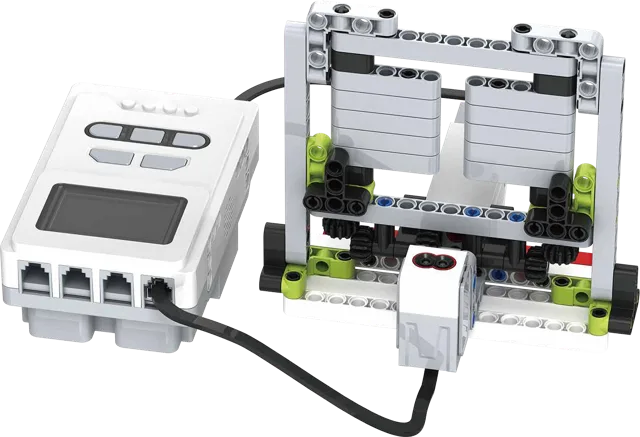
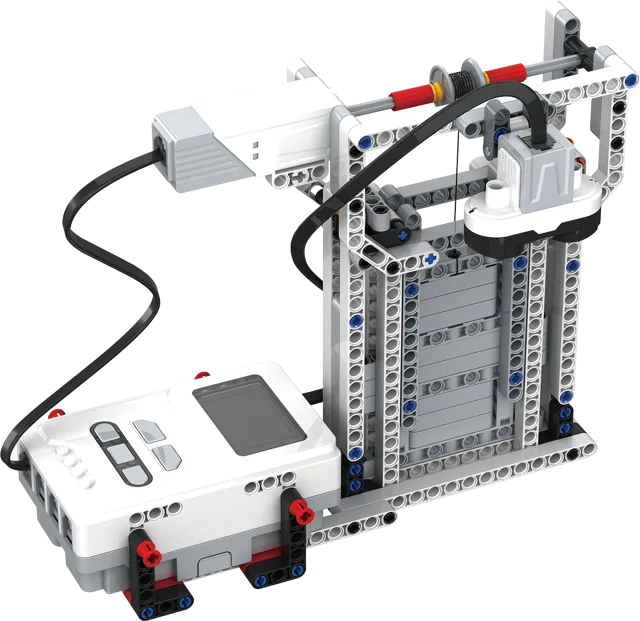
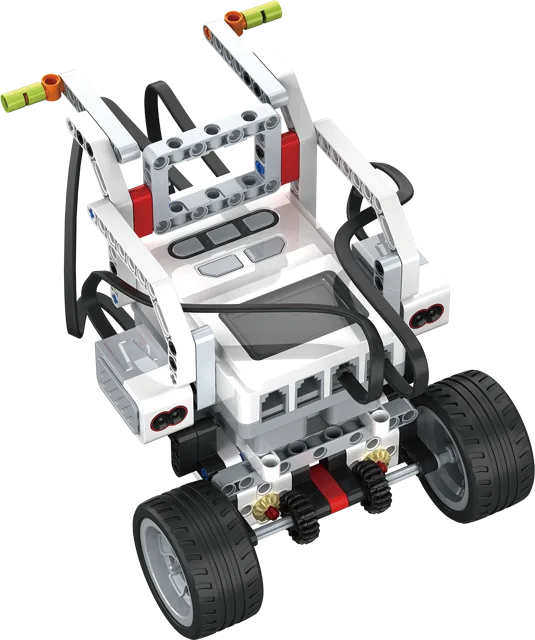
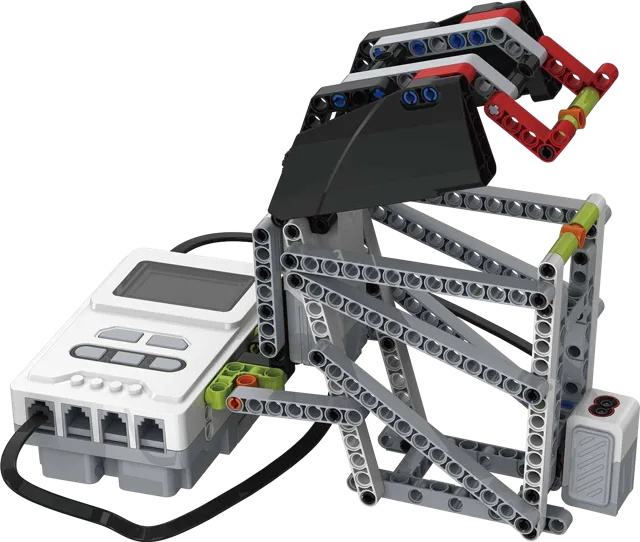
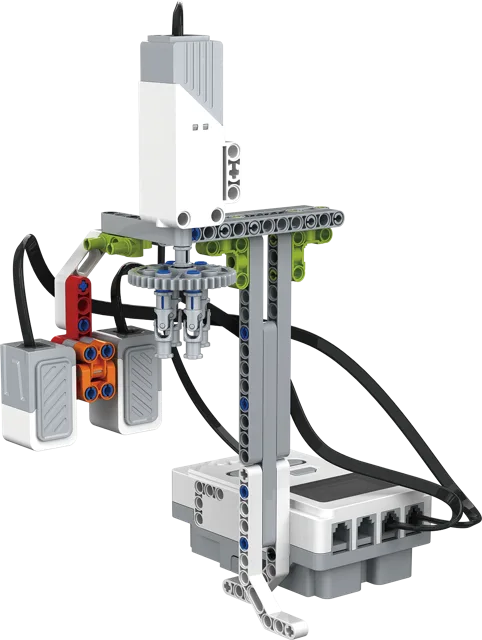

 Smart controllerSmart Hub · Bluetooth
 MotorMedium Motor
 Distance sensorMotion Sensor
 Tilt sensorTilt Sensor